Showing posts with label Photoshop Tutorials. Show all posts
1.17.2011
Make Cute Vintage Frames for Pictures on your Sidebar, using Photoshop!
I love this technique, because it is so cute, and sooo easy :) First off, I picked up a FREE vintage frame Clip Art from The Graphics Fairy. Her site is FABULOUS!
1.13.2011
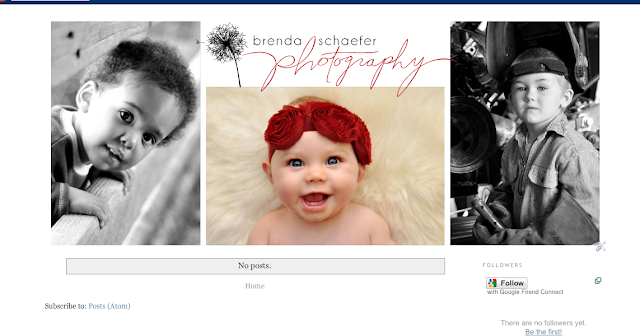
Make a Simple Rotating Header in Photoshop
In this tutorial, I am going to show you how to make a header like this one: **it is the same concept as making a Blinky
It is great for Photography blog designs and just if you want to add a little something different, but it is MUCH easier than doing a flash header. NOTE: You can only save this as a GIF file, so your quality will not be as high as a JPEG or PNG, so if you need something really high quality, this is not the best tutorial for you :)
1.12.2011
Make Your Logo into a Photoshop Brush for an Easy Watermark!
I love using brushes as a watermark, it is much easier that layering another file, and sizing it, then changing the opacity and all that. If you have a logo, I would recommend this! I do it for all my clients that purchase a logo.
So first thing you need to do, is make your logo into a simple black and white image (jpeg, png, whatever). I size mine at 2500px wide, by whatever tall (that is largest you can make a brush).
Once you have your image made, open it in Photoshop, it should look something like this:
So first thing you need to do, is make your logo into a simple black and white image (jpeg, png, whatever). I size mine at 2500px wide, by whatever tall (that is largest you can make a brush).
Once you have your image made, open it in Photoshop, it should look something like this:
12.13.2010
DIY Custom Blog Design Part 7: Post Divider
This is Part 6 of a series of tutorials, if you need to start at the beginning, click here.
In this portion of the tutorials, I will show you how to make and add a post divider to your blog. First you need to determine what size you need to make your post divider. To do that, go to your Edit HTML page and scroll down to your #main-wrapper and you will see your width there.
My width was 540px, so I went ahead and made my post divider 540x75px. I made the post divider the same way that I did my header in the header tutorial.
To install your post divider, you need to upload it to photobucket and grab your direct link code. Then head over to your Edit HTML page and find this section: .post {
First, add these lines:
background: url(Your Direct Link Code Here);
background-repeat: no-repeat;
background-position: bottom left;
Second, delete this line:
border-bottom:1px dotted $bordercolor;
Third, change your padding-bottom to suit your post divider, I changed mine to 4em, but if you have a taller post divider, go with a larger number. You may just have to play with it a bit.
Your final code should look something similar to this:
Thats it!!
In this portion of the tutorials, I will show you how to make and add a post divider to your blog. First you need to determine what size you need to make your post divider. To do that, go to your Edit HTML page and scroll down to your #main-wrapper and you will see your width there.
My width was 540px, so I went ahead and made my post divider 540x75px. I made the post divider the same way that I did my header in the header tutorial.
To install your post divider, you need to upload it to photobucket and grab your direct link code. Then head over to your Edit HTML page and find this section: .post {
First, add these lines:
background: url(Your Direct Link Code Here);
background-repeat: no-repeat;
background-position: bottom left;
Second, delete this line:
border-bottom:1px dotted $bordercolor;
Third, change your padding-bottom to suit your post divider, I changed mine to 4em, but if you have a taller post divider, go with a larger number. You may just have to play with it a bit.
Your final code should look something similar to this:
Thats it!!
11.22.2010
DIY Custom Blog Design Part 4: Header
This is Part 4 of a series of tutorials, if you need to start at the beginning, click here.
In this part of the tutorial, we will make a simple header and I will show you how to install it properly.
I am making my header in Photoshop CS5. If you don't have Photoshop, you can use Paint.net it is similar to Photoshop, and 100% FREE!
In this part of the tutorial, we will make a simple header and I will show you how to install it properly.
I am making my header in Photoshop CS5. If you don't have Photoshop, you can use Paint.net it is similar to Photoshop, and 100% FREE!
11.04.2010
Flash Header Tutorial (Flash Slides cross fading)
I am really excited about this tutorial, because only 3 months ago, I had never even used flash before and it is not as hard as you may think!
Step 1: Prepare your Slides
Subscribe to:
Posts (Atom)